1. 環境構築
Next.jsのセットアップ
Nxの公式ドキュメントを参考に環境構築をします。
Next.jsで新しいNxワークスペースを作成するには下記コマンドを実行します。
npx create-nx-workspace@latest --preset=next
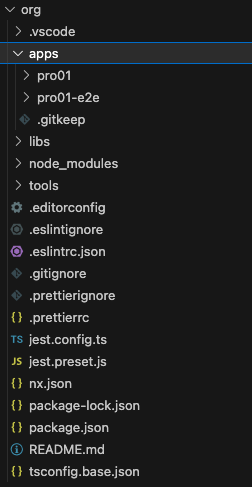
workspaceはデフォルトの「org」アプリケーションの名前は「pro01」としました。
インストールが終わると、org > apps の中に先ほど作ったアプリケーション(pro01)が入っています。
アプリケーションの追加
下記コマンドで新しいアプリケーションを追加します。
nx g @nx/next:app アプリケーションの名前

例)nx g @nx/next:app pro02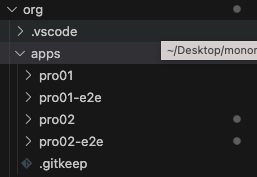
問題なくアプリケーションが追加されました。
必要のない「pro01-e2e」と「pro02-e2e」は削除しておきます。
2. githubへアップロード
githubでレポジトリを準備し、先ほど作ったワークスペースをアップロードします。
git init
git add .
git commit -m "first commit"
git branch -M main
git remote add origin https://github.com/********/YOUR-REPOSITORY-NAME.git
git push -u origin main
3. AWS Amplify設定
AWSの管理画面からAmplifyを開きます。
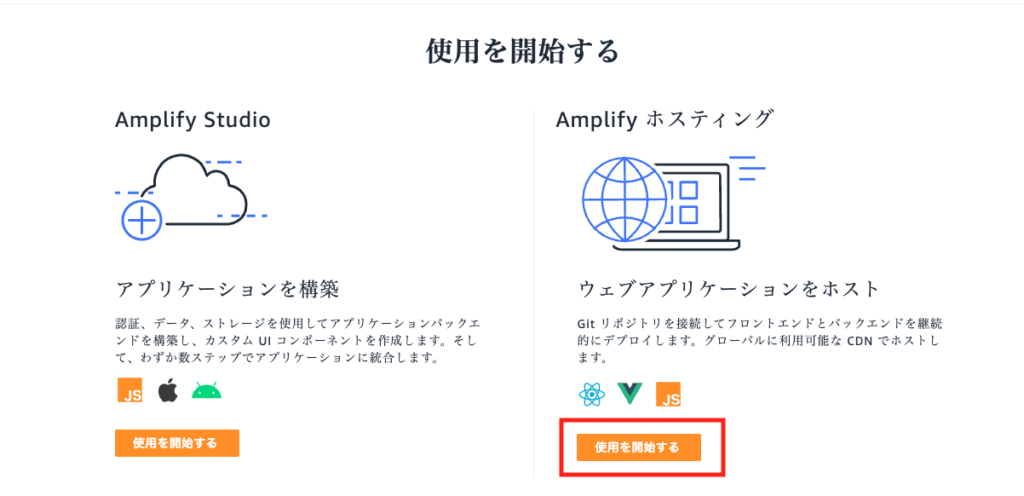
Amplifyホスティングの「使用を開始する」をクリックします。
既存のコードからgithubを選択します。
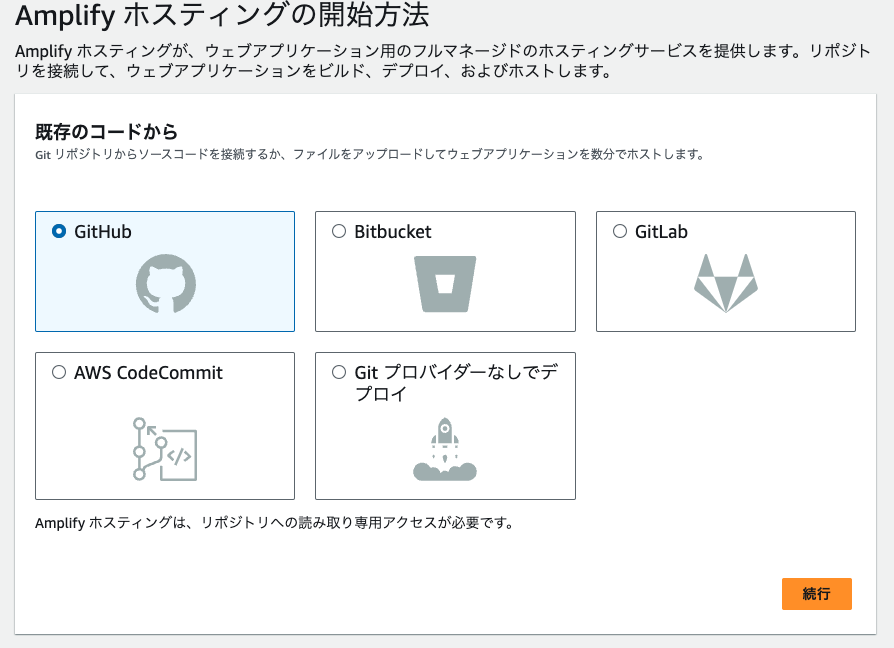
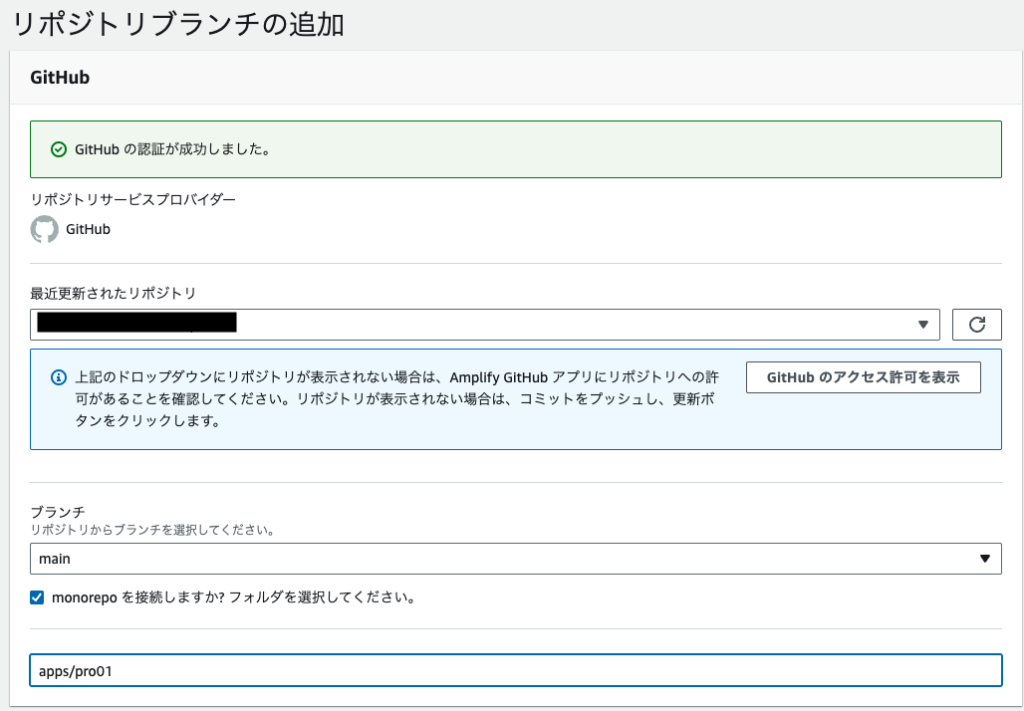
githubの認証画面に飛ぶので認証し、該当のレポジトリを選択します。
ブランチを選択したら、「monorepoを接続しますか?フォルダを選択してください」にチェックをいれ、ルートからのアプリケーションまでのパスを書きます。
次にビルドの設定をします。
ここは自動でビルド設定が検出されるので、問題ない場合はそのまま受け入れます。
version: 1
applications:
  - frontend:
      phases:
        preBuild:
          commands:
            - npm ci
        build:
          commands:
            - npx nx build pro01
      artifacts:
        baseDirectory: dist/apps/pro01/.next
        files:
          - '**/*'
      cache:
        paths:
          - node_modules/**/*
      buildPath: /
    appRoot: apps/pro01
「次へ」を押すと確認画面が出てくるので、問題ないようなら「保存してデプロイ」をします。
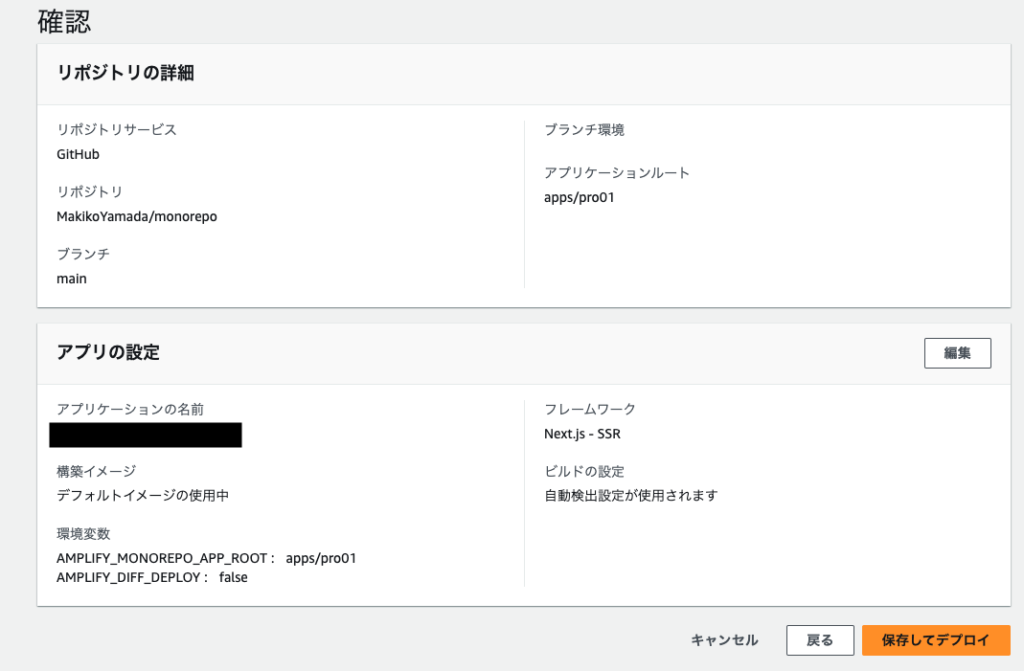
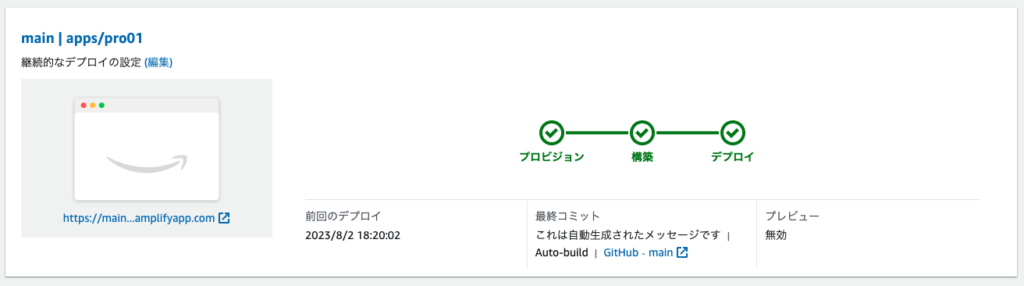
デプロイが開始され、問題なくデプロイされました。
もう一つのアプリケーション(pro02)も同じように設定してください。